
I was lucky enough to inherit three of them from my mother’s collection when she passed away, having asked her for them years ahead. After all, with three daughters she was bound to think of splitting them between us if I hadn’t nabbed them earlier.
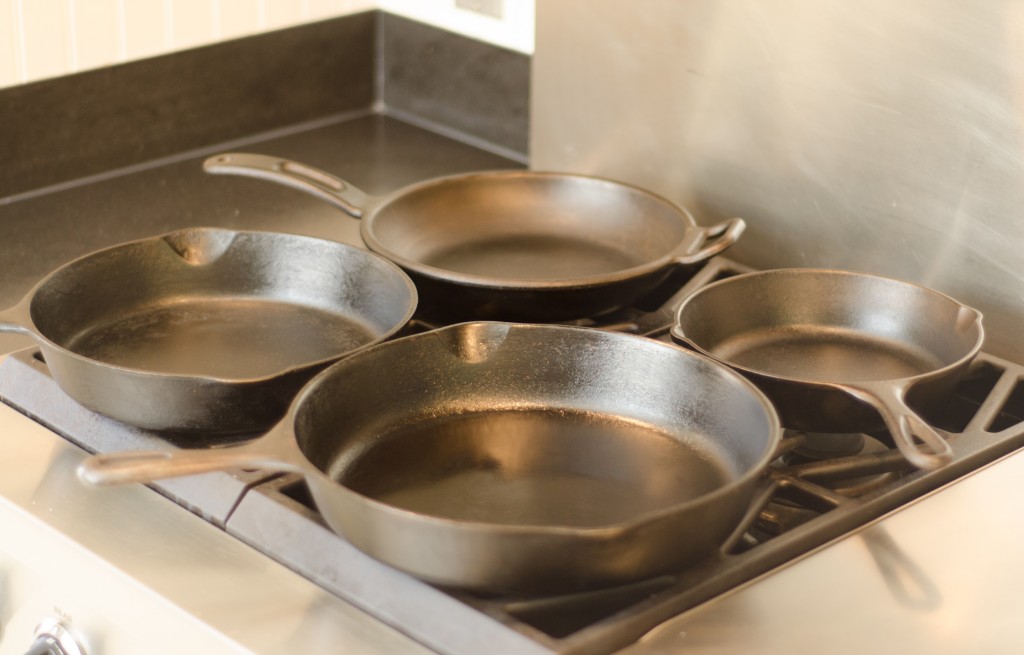
I was twice blessed with another “gift” of two more skillets from a student who was throwing them away because she thought they were ruined. Yes, they had been improperly taken care of so they were rusty and looked terrible. When I saw them by the door ready to go in the garbage, I asked if she wanted me to show her how to save them and the response was, no you can have them. Lucky me, I thought as I whisked them away and now I have five beautiful seasoned cast iron skillets. I rarely use my stainless steel pans anymore after discovering what a joy these old fashioned not so gorgeous looking cookware can be.
Here are the simple steps to purchasing and taking care of cast iron.
First, if you can find them at garage or yard sales you will be the luckiest person because more than likely they are old and already well used. This is one pan that gets better with age and as the years go by becomes a best friend. If you aren’t into searching the streets for yard sales and would rather buy one today any cookware store is now selling cast iron as they are now back in style. The best ones are Griswold or Lodge although Le Creuset and Calphalon make them.
When you purchase one these days they are already “pre-seasoned”. You will still have to prepare it so the food won’t stick as in the beginning it is simply not ready yet. It has to be used and gets better with time. Unless the finish is smooth and slick looking (only used pans will look like this) it will need seasoning no matter what the label says. Since it hasn’t been polished yet you will have to scrub your new pan by pouring a thin layer of kosher salt into it and then rubbing it with a paper towel to remove any impurities from the surface. Wash it well with hot soapy water and dry completely. Then add a layer of flavorless oil (anything such as vegetable, peanut, canola) to the entire pan sides included and rub down with a paper towel. Place in a hot oven (450) for twenty minutes until smoking and turning black. Repeat this process until the pan is very black. It can take three or four times before it looks smooth and blackened. Cool the pan and now it’s ready to use.
After you have prepared it when using always heat on high heat for about five minutes before you add any oil or fat and then lower the heat to medium, add your fat and then heat again for a minute. Then add your food. Avoid excessive soap and acidic foods (such as tomato sauce or anything with vinegar or citrus) until the pan has built up a thick seasoning – where it looks smooth and shiny.
To take care of the pan, use it regularly, this will make the pan a joy to cook with as the built up layers will continue to season it. Don’t let it cool before cleaning- it’s easier to clean if it’s still warm as any food stuck to it will most likely slide out with minimal soap and water. Dry it immediately over an open flame- this is the most important step to avoid rusting and having to start all over with the seasoning process. Add a thin film of oil to your pan wiped out with a paper towel, before storing to keep it from coming into contact with any moisture.
With these simple steps you will enjoy a fabulous pan for the rest of your life and hopefully pass it on to your children or someone you know who loves to cook.
Enjoy!


Leave a Reply
Want to join the discussion?Feel free to contribute!